Steps 1 to 4: Download & Install | Step 5 to 16: Activate

Instructional Office 2024 Professional Plus

Important info before you begin (please read!)

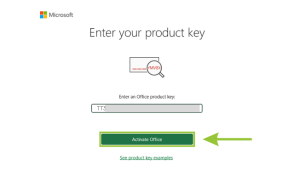
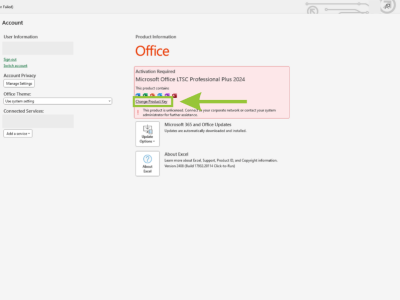
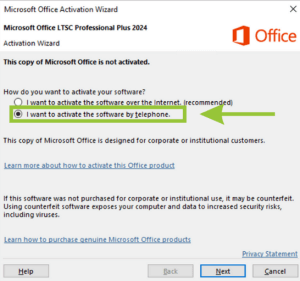
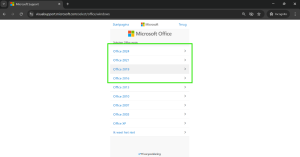
When starting office you should choose PHONE ACTIVATE. Recently microsoft has changed this, from step 7 this is explained step by step

Note:
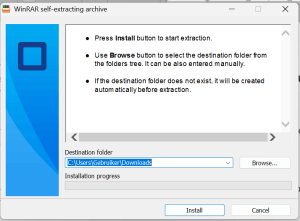
Before you begin the installation, make sure ALL previous Office installations are completely uninstalled. You can check this using the uninstallation tool on the following page; www.softload.nl/verwijderingstool
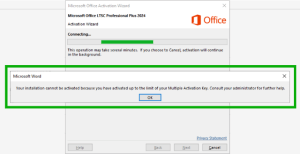
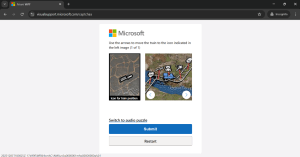
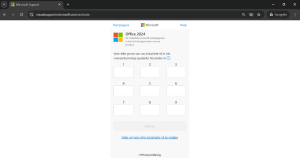
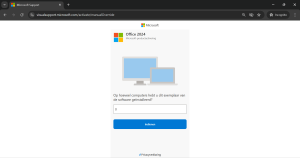
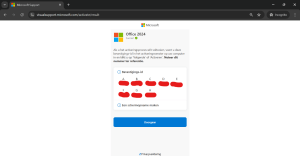
Download and install

Step 1 – Click on the desired language at the top of the page. Once the download is complete, click on the downloaded file.

Step 2 – Click Install.
Then grant the app permission to make changes to
.

Step 3 – Now wait patiently for the installation to complete.
This takes a few minutes and may take up to a
number of hours. This depends entirely on the PC/Laptop.

Step 4 – After the installation is complete, type ”Word”, ”Excel” or ”PowerPoint” in the
search bar at the bottom.
Click ”Agree” to the license terms.

Activate

Note: Only phone activation works!

Step 5 – In this screen, enter the purchased license code.
Be sure to copy and paste the license code to avoid errors
. Then click ”Activate
Does this screen not appear automatically? Then
do the following; Click on ”Account” at the bottom left and then on
”Change/Switch Product Code”.

Step 6 – After activation, you may see this screen
. Click ‘‘OK” and open the activation wizard.
Choose”I want to activate the software by phone”.
Click ”Next”.

Step 7: Keep the activation screen open, you will need the installation ID in a moment. Go to; https://visualsupport.microsoft.com/
Click on ”Let’s get started”.

Step 8: Run the Security Captcha and click ”Submit”.

Step 9: Click ”Sign In” and then sign in with your Microsoft Account.

Step 10: Click on ”Activate Microsoft Product.”

Step 11: Click on ”Microsoft Office.”

Step 12: Click on ”Windows”

Step 13: Select your purchased Office version.

Step 14: Enter here the installation ID you see in the activation wizard of the Office application you opened. This is a string of 9 columns and each column a string of 7 numbers. Copy this sequence to avoid errors. After all the numbers have been entered into the columns, run through them briefly to make sure all the columns match. It is important that this section be done accurately.
Then click ”Submit.”

Note: If all fields are not accepted while all digits are entered, remove any spaces or dashes. Make sure all digits are in direct succession, with no breaks.

Step 15: Next you get the question; ”How many computers do you have this copy of the software installed on?” Here you enter 0 or 1. If the 1st attempt does not work, try entering the other digit. Click on ”Submit” and then on ”next” to confirm the selection.

Step 16: If this is done correctly you will receive the screen below. You will receive the confirmation ID. This is 8 columns with 6 digits each. You enter this in the activation wizard in the office application at confirmation id.

NOTE: Copy the confirmation id immediately or take a screenshot of it. As soon as you move away from the page, the confirmation id disappears. So if you don’t do this, it means you have to start from scratch.

Congratulations, the product has been activated